Create a live grid
A grid is a saved collection of camera tiles arranged in a layout — 1x1 to 3x4 — with optional multi-page pagination and auto-rotate. Create one when you monitor the same set of cameras every shift, or when you want to hand a rotating view to a front-desk operator without them having to pick cameras every time.
Prerequisites
- Operator, Admin, or Owner role. Viewers cannot create grids.
- Fewer than 20 grids already owned by you — the per-user cap (
MaxGridsPerUser = 20incloud/internal/grids/models.go). - At least one camera you can access. The picker is empty for Viewers with no site access; they cannot create grids anyway.
Procedure
Step 1 — Open the Live page
- Open Live from the left nav.
- Click + New Grid in the page header (or use the + New Grid action in the empty state if no grids exist yet).
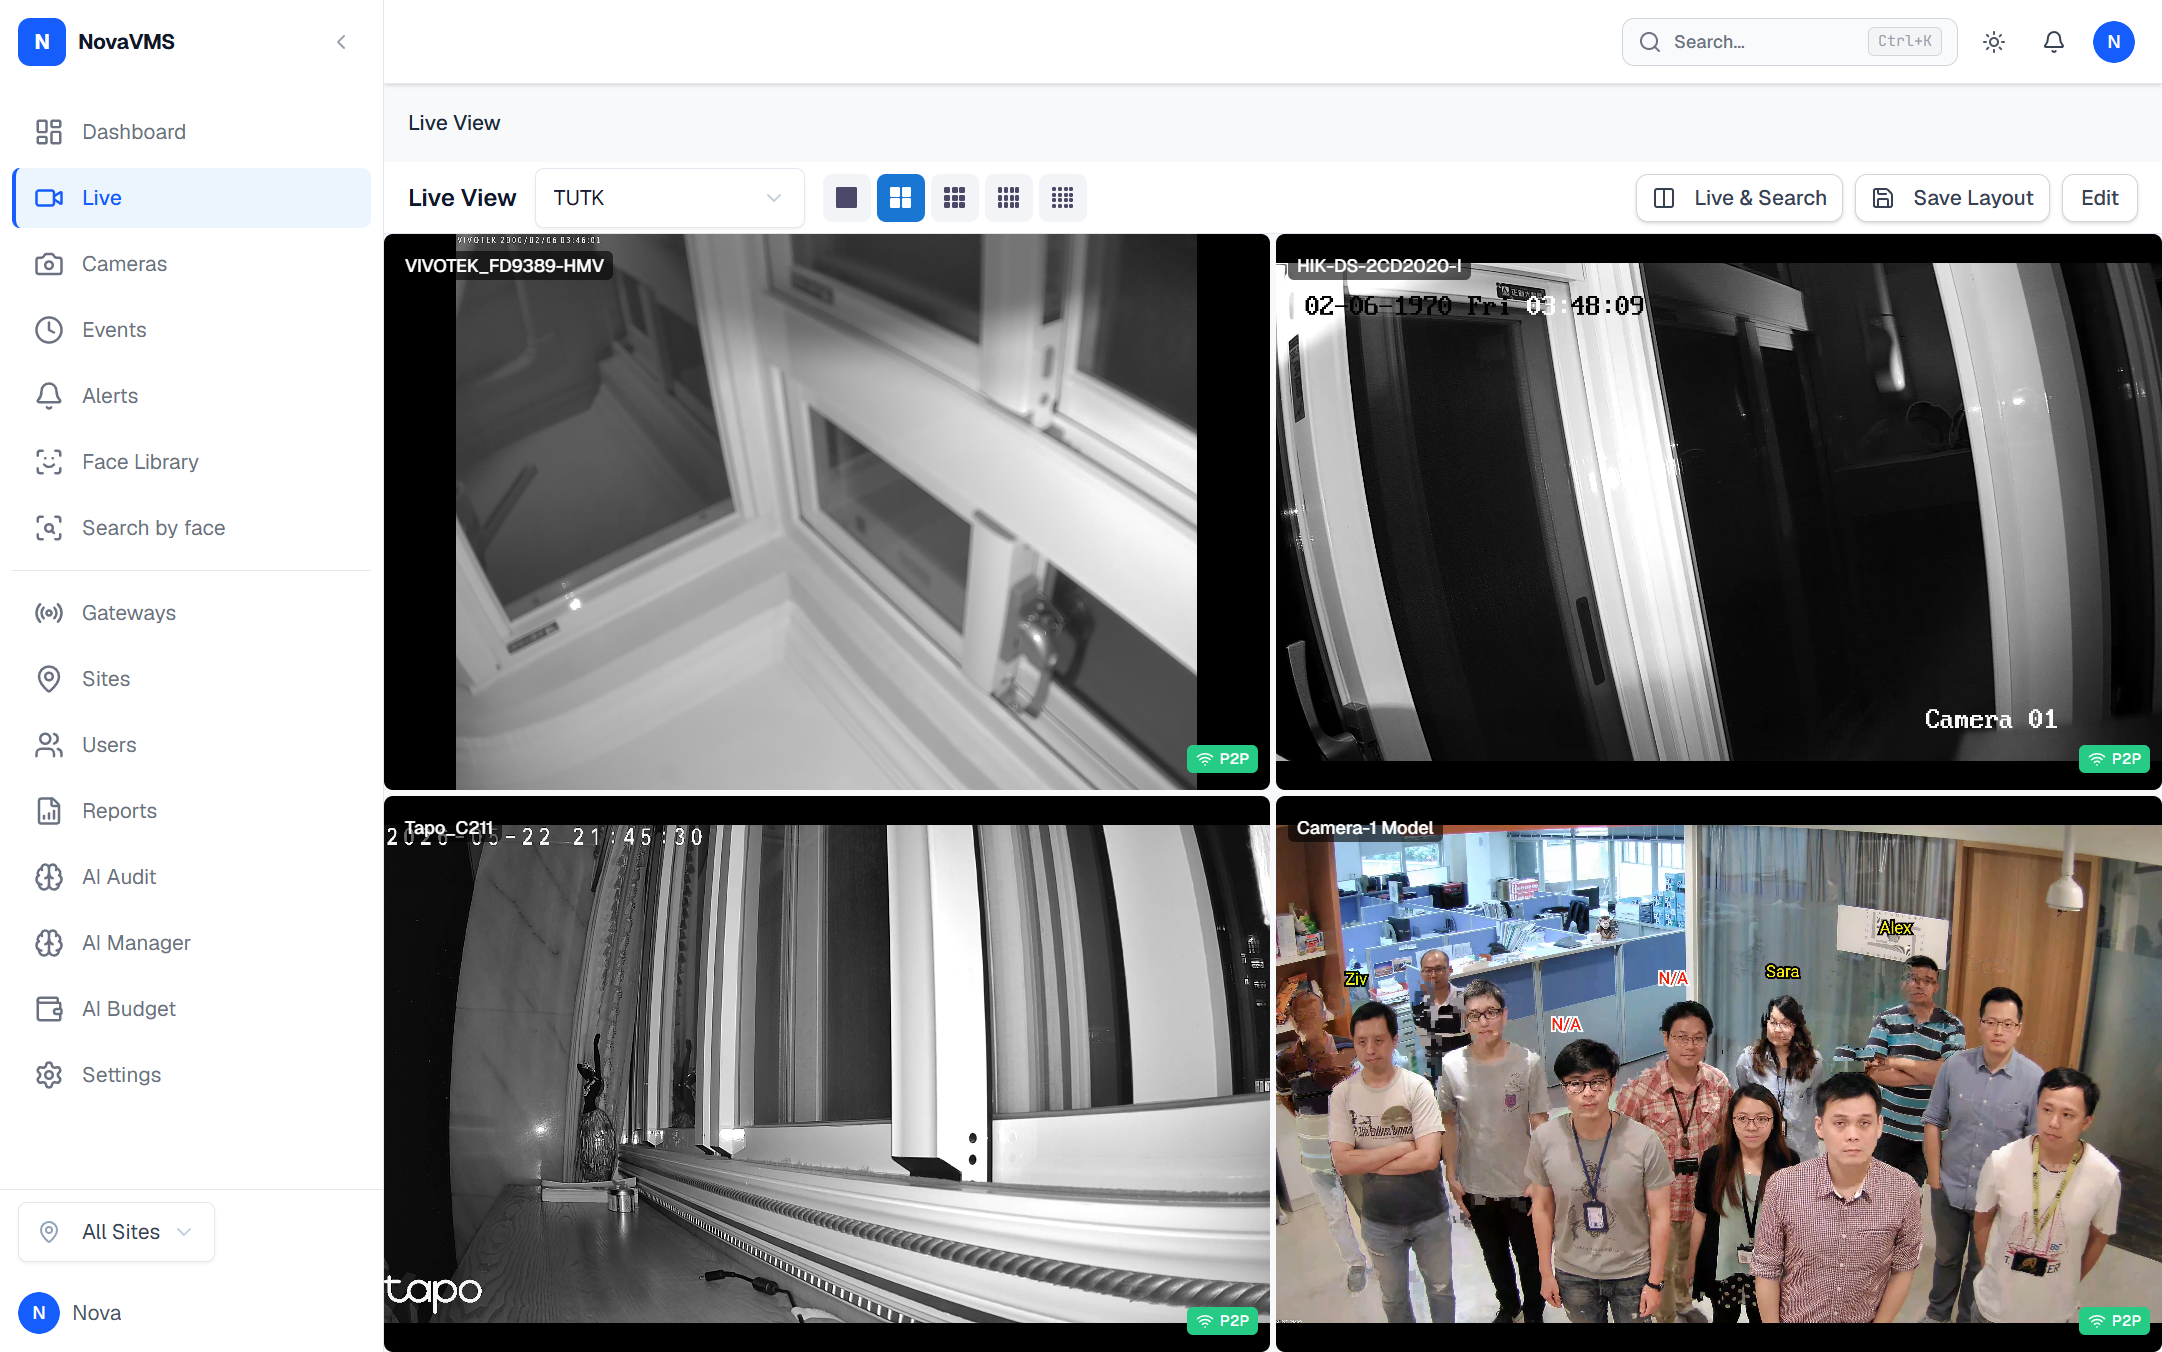
Step 2 — Name and layout
- Enter a Name. This is the label in the grid dropdown; keep it short and recognisable.
- Pick a Layout: 1x1, 2x2, 2x3, 2x4, 3x3, or 3x4. Each layout defines the tile count per page (max 12). See Live grid limits for the full matrix.
- Choose Visibility:
- Private — only you see this grid in the dropdown.
- Public — every user in the org sees it (Viewers only see public grids that include cameras at their assigned sites).
- Click Create. The grid opens in edit mode with empty tile slots shown as dotted rectangles.
Step 3 — Fill the tiles
- Drag cameras from the camera picker on the right into the tile slots. Or click a slot and pick a camera from the dropdown that opens.
- A tile shows the camera name and live thumbnail once a camera is assigned.
- Need more cameras than fit one page? Click + Add Page at the bottom. Each grid holds up to 10 pages. Per-page tile count matches the layout (e.g. 3x4 → 12 tiles per page).
- Drag a filled tile onto another tile to swap them. This is how you reorder without removing cameras.
Step 4 — Configure auto-rotate (optional)
- If the grid has two or more pages, the Auto-rotate dropdown is enabled in the header.
- Pick an interval: 10s, 15s, 30s (default), 60s, 120s, or 300s. The grid cycles pages on this cadence whenever someone has the grid open.
Step 5 — Save
- Click Save. Edit mode closes and the grid renders as the active view.
Verify
- Your grid appears in the grid dropdown in the Live page header.
- If you picked Public, a colleague can see it in their dropdown (refresh their browser if they had the Live page already open).
- With two or more pages and auto-rotate on, the page indicator at the bottom of the grid advances on the configured cadence.
- Streams render within 3 seconds for a sub-stream grid (the spec target).
Common variations
- Edit an existing grid: click Edit in the Live page header while the grid is active. Same workflow — save at the end.
- Promote a private grid to public: edit the grid and flip Visibility. Audit log records
grid.updated. - Saved view vs grid: a grid is a saved layout of live tiles. If you want a saved Events filter set instead, see Use saved views.
If this didn’t work
- + New Grid is greyed out — you have 20 grids already (the per-user cap). Delete one or ask another operator to own the new grid.
- Camera picker is empty — your role is Viewer and no cameras are assigned to your sites, or the org has no cameras yet.
- Tiles show “Connecting…” and never render — the gateway is offline or the cameras themselves are offline. See Live view is black.
Related
- Live grid limits — layouts, max pages, max tiles per page
- Live view transport — why grid tiles use sub-stream, not main
- Use saved views — saved filter sets for the Events page